Moving out can be exciting—but also stressful. Between packing boxes, sorting bills, and handing back keys, one major task often causes last-minute panic: cleaning. Many tenants underestimate how detailed a final clean needs to be.
If you want to make a great impression on your landlord and secure your deposit, understanding what end-of-tenancy cleaning includes is essential.
Go through this article to learn more about what’s involved, why it matters, and how you can get it right.
Why End Of Tenancy Cleaning Matters
When your tenancy ends, landlords or letting agents expect the property to look as it did when you moved in—clean, tidy, and ready for the next tenant. A rushed wipe-down won’t cut it.
A proper end-of-tenancy clean isn’t just about appearances. It helps to:
- Protect your deposit by meeting the landlord’s checklist.
- Avoid disputes by letting agents or property managers.
- Save time during final inspections.
- Create goodwill for references or future rentals.
Think of it as returning the property in “move-in ready” condition.
What’s Included In End Of Tenancy Cleaning
Every room requires a deep clean from top to bottom. Let’s break it down by area so you don’t miss anything.
Kitchen
The kitchen often takes the longest to clean because of grease and food residue. Focus on:
- Appliances: Clean the oven, hob, and extractor fan. Remove burnt-on food, grease, and filters if needed.
- Fridge & Freezer: Defrost, clean inside and out, and remove any odours.
- Microwave, Toaster & Kettle: Wipe away crumbs, stains, and limescale.
- Cupboards & Drawers: Empty, vacuum crumbs, and wipe shelves.
- Sink & Worktops: Scrub to remove stains and build-up.
- Floors & Tiles: Mop floors and clean wall tiles, especially the grout lines.
Landlords notice kitchen cleanliness first—it’s worth the extra effort.
Bathroom
Bathrooms can quickly fail an inspection if they’re not spotless. Here’s what to include:
- Toilet: Disinfect and remove limescale.
- Shower & Bath: Clean glass doors, remove soap scum, and polish fixtures.
- Sink & Taps: Remove hard water stains and build-up.
- Tiles & Grout: Scrub mould, mildew, and discolouration.
- Mirrors & Shelves: Wipe until streak-free.
- Floors: Mop with a disinfectant cleaner.
A sparkling bathroom shows your landlord you’ve cared for the property.
Living Room & Bedrooms
These areas might look “clean”, but dust and dirt often hide in corners. Focus on:
- Carpets: Vacuum thoroughly; consider professional steam cleaning if heavily stained.
- Hard Floors: Mop and remove marks or scuffs.
- Walls & Skirting Boards: Wipe off fingerprints and dust.
- Windows: Clean the inside glass and wipe sills.
- Light Fittings: Remove dust or insects.
- Cupboards & Drawers: Empty and wipe surfaces.
- Furniture (if provided): Wipe or polish as needed.
Tip: open the windows while cleaning—it helps remove odours and moisture.
Hallways & Entryways
Often overlooked but crucial for a good first impression.
- Doors & Handles: Wipe down and disinfect.
- Floors: Sweep, vacuum, and mop.
- Walls: Spot clean any scuffs.
- Light Switches & Sockets: Dust or sanitise.
Laundry or Utility Room
If your rental includes one, don’t forget to:
- Wipe washer and dryer surfaces.
- Clean lint traps.
- Sweep and mop the floor.
Professional Vs Diy Cleaning
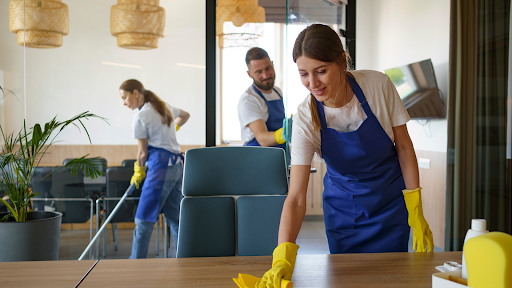
You can absolutely clean yourself if you have the time and proper tools. But if you’re busy or the property is large, hiring professionals can save you stress.
Professional cleaners use industrial-grade products and equipment—steamers, carpet extractors, and eco-friendly disinfectants. They follow strict checklists that match landlord standards, making inspections smoother.
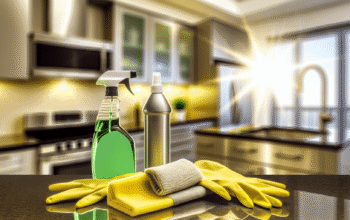
If you go DIY, plan ahead:
- Gather supplies like microfibre cloths, degreasers, and limescale removers.
- Set aside a full day or weekend.
- Work room by room so nothing is missed.
Remember, before-and-after photos can serve as proof if questions arise later.
Common Mistakes Tenants Make
Even the best intentions can fall short. Avoid these pitfalls:
- Skipping appliances: Dirty ovens or fridges are the main reason deposits are withheld.
- Forgetting hidden spots: Window tracks, vents, and skirting boards often get overlooked.
- Using the wrong products: Harsh cleaners can damage surfaces.
- Rushing the job: Start cleaning a few days before moving day to avoid panic.
A thorough end-of-tenancy clean ensures you leave no reason for deductions.
Last-Minute Checks Before You Leave
- Check lightbulbs and replace any that are blown.
- Empty bins and take out all rubbish.
- Air out the property to remove cleaning smells.
- Walk through with a checklist or a friend for a fresh perspective.
Final Thought
End of tenancy cleaning isn’t just a final chore—it’s your last step to closing one chapter and starting the next without hassle.
A clean, well-presented home can make your move smoother, preserve your deposit, and leave behind a great impression.
Spend the extra time or money now—it’ll save headaches later.